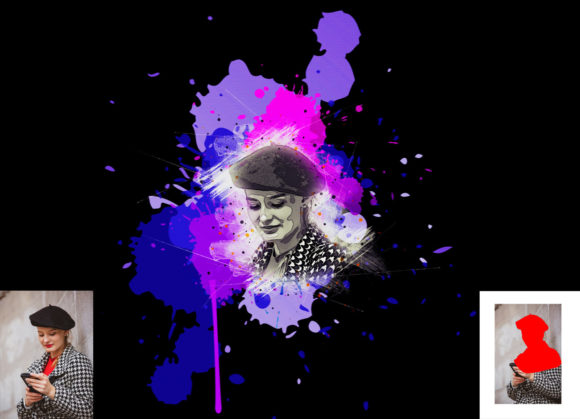
Transforming Ordinary Photos into Art: A Guide to the Sand Dust Effect Photoshop Action
In the vast landscape of digital photography and graphic design, standing out requires more than just a high-resolution camera or perfect lighting. It demands creativity, style, and the ability to manipulate reality to evoke emotion. One such powerful stylistic choice is the Sand Dust Effect. This visual technique adds texture, depth, and a sense of motion to static images, turning ordinary portraits or landscapes into extraordinary works of art. For designers and photographers who may not have hours to spend manually painting particles in Adobe Photoshop, a dedicated Sand Dust Effect Photoshop Action offers a professional, efficient, and non-destructive solution.
Understanding the Sand Dust Aesthetic
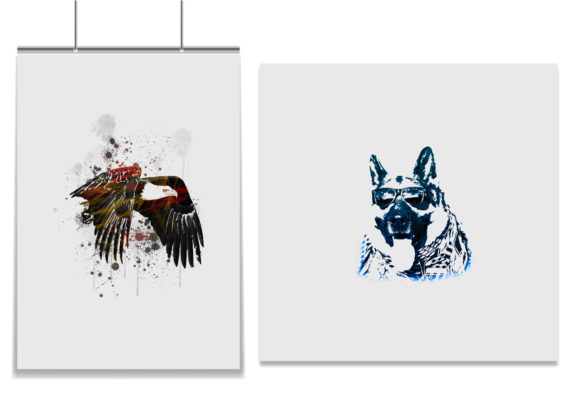
Before diving into the technical tools, it is essential to understand what the sand dust effect actually achieves visually. This effect simulates the appearance of fine particles—sand, dust, or earth—swirling around a subject or dispersing into the air. It is widely used in movie posters, album covers, and high-end advertising campaigns to suggest themes of transformation, decay, nature, or intense energy.
The significance of this effect lies in its versatility. It can make a portrait look rugged and adventurous, or it can give a product shot an organic, raw feel. However, creating this effect from scratch is technically demanding. It requires advanced knowledge of brush dynamics, layer masking, blending modes, and particle dispersion. This is where automated actions become invaluable. They bridge the gap between complex manual editing and professional results, allowing creators to focus on composition rather than tedious pixel-pushing.
Why Use a Photoshop Action?
A Photoshop Action is essentially a recorded sequence of steps that can be played back with a single click. When you utilize a specialized Sand Dust Effect Photoshop Action, you are leveraging a pre-built workflow designed by professionals. The primary benefits include:
- Time Efficiency: What might take an hour to paint manually can be achieved in seconds.
- Consistency: Actions ensure that the effect is applied uniformly, maintaining a cohesive look across multiple images.
- Non-Destructive Editing: High-quality actions are built to be non-destructive, meaning your original photo remains untouched. You can tweak, adjust, or remove the effect at any time without losing image quality.
- Customizability: Despite being automated, these tools often offer extensive control over colors and intensity.
Key Features of a Professional Sand Dust Pack
Not all Photoshop actions are created equal. A premium pack, such as the one described in our overview, offers specific features that elevate the final output. Understanding these features helps users maximize the tool's potential.
1. Multiple Color Options
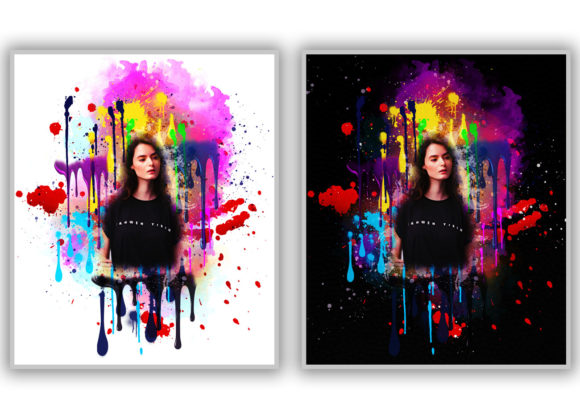
One of the standout features of a robust sand dust action is the inclusion of varied color presets. A standard pack might include 10 different color options. This allows the user to match the dust effect to the mood of the photograph. For example, a warm, golden sand tone might suit a desert landscape, while a cool, grey dust might better fit an urban, gritty portrait. The ability to change colors easily ensures that the effect integrates seamlessly with the existing color palette of the image.
2. Compatibility and Software Support
For any digital tool to be useful, it must work with the software you already own. This specific action has been rigorously tested to ensure compatibility with a wide range of Adobe Photoshop versions. It supports the English versions of:
- Photoshop CS5.5 and CS6
- Photoshop CC 2014 through CC 2020
It is crucial to note that actions are often language-dependent. Using the English version of Photoshop is typically required for the action to read layer names and commands correctly. Ensuring your software is updated to at least CC 2020 can provide the best performance and access to the latest engine improvements.
3. Organized Layers and Ease of Use
A professional action does not just dump pixels onto your canvas; it creates an organized structure. The layers generated by the action are typically named and grouped logically. This organization makes it easy to customize the effect further. If you want to reduce the opacity of the dust or change the blending mode of a specific particle layer, having an organized file structure makes this process intuitive rather than confusing.
Step-by-Step Guide to Achieving the Best Results
While the action automates the heavy lifting, user input is still required to ensure high-quality results. Following the correct preparation steps is vital. Here is a logical workflow to get the most out of your Sand Dust Effect Photoshop Action.
- Prepare Your Canvas:
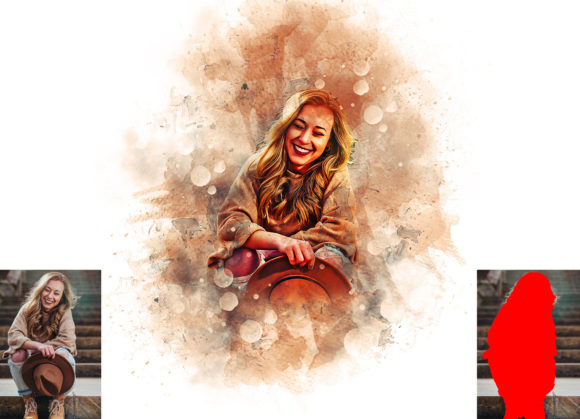
The foundation of a good effect is a properly sized canvas. For optimal resolution and detail, you should extract your canvas area effectively. Select your background image and use the Crop Tool. Extend the canvas on two sides or all sides to give the dust room to disperse. Resize your image to approximately 3000x3000 pixels with a resolution of 72 DPI. This size provides enough pixel data for the brushes to look realistic without being too large for the software to handle efficiently.
- Create the Paint Layer:
This is the most critical step. Open your photo and create a new layer. You must rename this layer to "paint" (all lowercase). This specific naming convention is how the action identifies where to apply the effect. Without this exact name, the action may fail or produce unexpected results.
- Define the Effect Area:
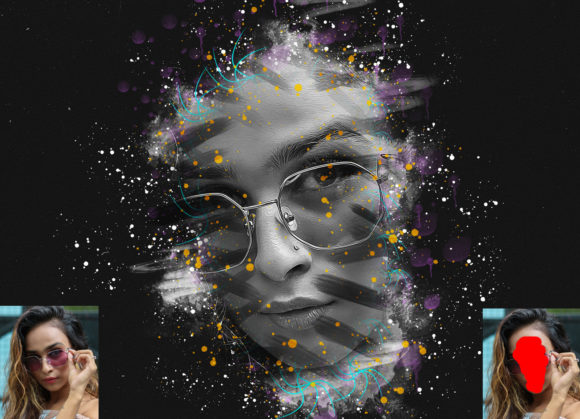
Select a soft brush and paint over the areas of the image where you want the sand dust to appear. Typically, you would paint over the edges of a subject or the background areas where dispersion is desired. Remember, you are not painting the final look; you are painting a map for the action to follow. Once you are satisfied with the painted area, close the eye icon of the "paint" layer to hide it, but keep the layer selected.
- Run the Action:
With the "paint" layer selected, open your Actions panel and click the play button on the Sand Dust Effect action. The software will now process the image, generating the particles based on your painted guide.
- Customize and Refine:
Once the action finishes, you will see the result. You can now explore the 10 different color options provided. Toggle the visibility of different color groups to find the one that best suits your image. Because the effect is non-destructive, you can also adjust the opacity of the dust layers or mask out areas where the effect is too strong.
Common Misunderstandings and Tips
New users often assume that an action is a "one-click fix" that requires no thought. However, the quality of the output is directly related to the quality of the input. If the "paint" layer is messy or the canvas is too small, the result will look artificial. Additionally, some users forget that the action relies on specific layer names. Always double-check that your layer is named "paint" in lowercase before running the script.
Another common assumption is that the effect works equally well on all photos. While the action is designed to work on every photo, images with high contrast and clear subjects tend to yield the most dramatic and pleasing results. Soft, low-contrast images may require additional adjustments to make the dust pop.
The Practical Relevance in Modern Design
In today’s digital-first world, visual content is consumed rapidly. Whether for social media posts, website banners, or print advertisements, capturing attention quickly is paramount. The Sand Dust Effect adds a dynamic element that stops the scroll. It implies movement in a static medium, engaging the viewer’s imagination.
For businesses, this means creating branding materials that look high-budget without the high cost of custom CGI or extensive manual retouching. For educators and students, it serves as an excellent tool for learning about layer management and non-destructive workflows. By using such actions, beginners can deconstruct the layers to understand how professional effects are constructed, thereby improving their overall Photoshop skills.
Conclusion
The Sand Dust Effect Photoshop Action is more than just a filter; it is a creative catalyst. It empowers photographers and designers to transform ordinary images into extraordinary visual stories with ease and precision. By understanding the preparation steps, respecting the technical requirements like layer naming and software compatibility, and leveraging the customizable color options, users can achieve high-quality, professional results efficiently.
Whether you are looking to add a touch of grit to a portrait or create a sweeping atmospheric scene, this tool provides the flexibility and power needed in modern digital artistry. With included resources like brushes, help files, and PDF guides, even those new to Photoshop can navigate the process confidently. Embrace the power of automation combined with creative control, and let your images rise above the noise.